Send Repair Orders to your Inventory using the Quickbooks Interface Back


The Quickbooks interface requires version 07-12-28 or above, Click here to get your updates.
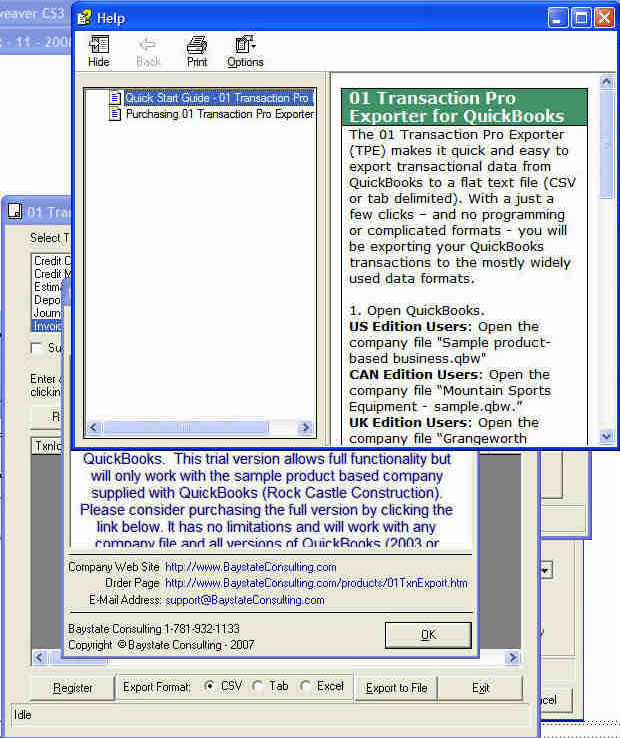
You also need the Bay State Consulting Quickbooks Exporter, Clik here to download and install.

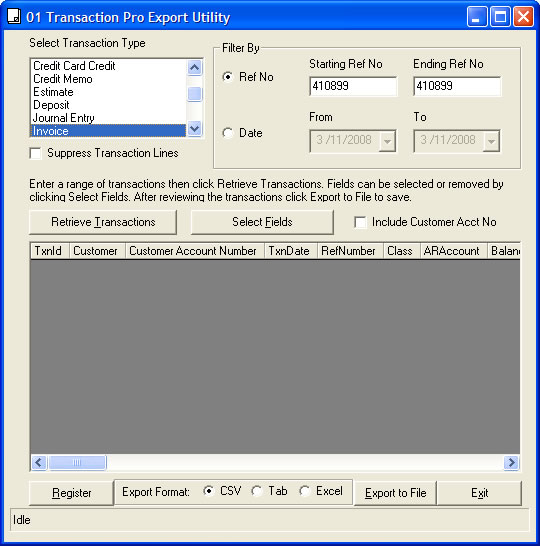
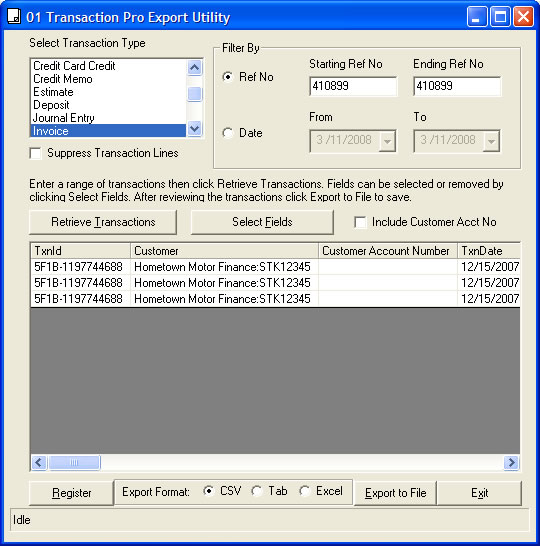
You also need to have Quickbooks runing with your company open (if this is a demo or practice run you can open the Quickbooks sample company) open Quickbooks Select File, New Company, Select Leave when the interview starts, Yes to leave the interview, and select Open a sample file, Sample Product based business and select OK. At this point you can minimize quickbooks.

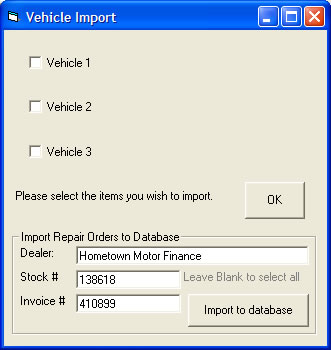
Send Repair Orders directly to your Inventory Database

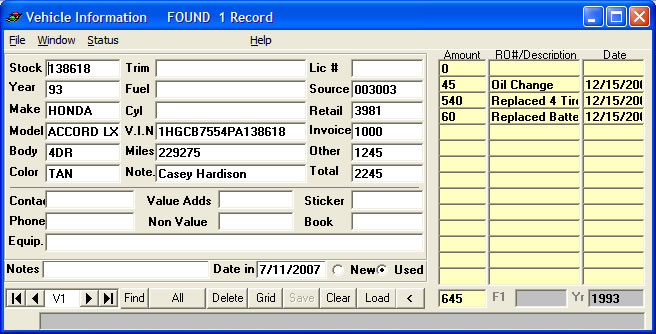
On Quickbooks, create your Internal Repair Order or Invoice, make sure the customer name is the same company name on your defaults module, and create a job with the stock number of the vehicle.


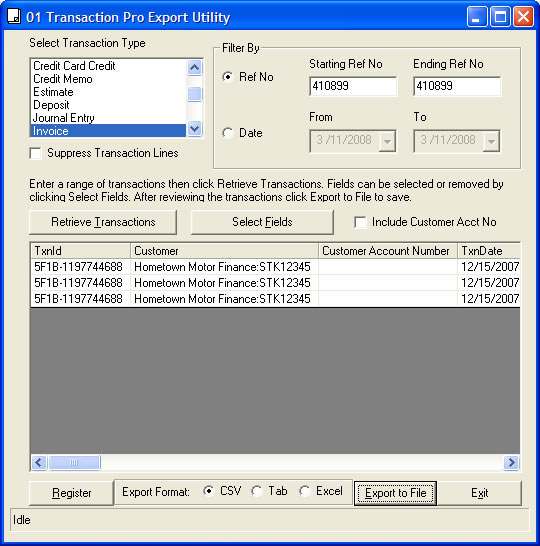
On the Loan Master select vehicle Information, select File, Import.

You will then see the screen shown below...
This module has three choices to import into one of the 3 databases. Make sure your Company name matches the one used in Quickbooks, this information is loaded from your Defaults module. Enter the stock number of the vehicle you wish to update, and the Quickbooks invoice, or internal number, and select the Import to database button.

 
Click Export, the next few screens will vary depending on if you are in demo mode or have purchased the license for the exporter.
Click ok and close the help screen if they are visible.
The First time you use this feature Quickbooks will display a Certificate message asking for permission to let this interface have access to your Quickbooks Files. If you select yes and give all rights you will not be asked again. If you say no the process will stop and you will have to mannualy change the settings in the Preferences section of the Edit menu, select integrated applications and company preferences. Select Baystate Consulting and Properties, then check all 3 allow boxes and ok twice.
 
 
You should then see the main screen of the Transaction Pro Export Wizard, the wizard allows for changes in configuration , notice your invoice or internal number is already there, Select the Retrieve Transactions button. It will display all the items in the Quickboks invoice.
 

exporter1

exporter4


Select Export to file;

This will display a save box, the name of the file is already included as internal.csv, accept it as internal.csv and select the save button. youmay get the warning about overwriting the file, select Ok.


This will return you to the Exporter main screen. and you can simply select the Exit button.


If your transaction was successful you should see the inventory open with the vehicle you serviced and your items added to the repair order section on the right.


You can also Import multiple transactions by selecting a date range or invoice range instead of a single invoice, in those cases, simply edit the values on the Exporter before selecting Retrieve transactions.

Duplicates are possible, so be careful not to do these steps twice on the same stock number.


© Copyright 2011 leasemaster.com. All rights reserved.